How to record a Google Slides presentation
Turning a Google Slides deck into a video you can share is one of the most common reasons people screen record. You want the slides, your narration, and ideally your face in the corner - all in a single file you can send to a class, a client, or a team that could not make the live session.
There is no single “export as video” button in Google Slides, so the method you use depends on your account type and how polished you need the result to be. This guide covers the built-in recorder, free screen recording, browser-based tools, and Tight Studio for a more finished presentation video.
Record a Google Slides presentation with the built-in recorder
Google added a recording feature directly inside Slides. When it is available, it is the fastest path - you present, it captures your slides and your camera, and the video lands in your Drive.
- Open your presentation and click the Rec button in the top-right toolbar
- Click Record new video
- Allow camera and microphone access when prompted
- Click the red record button, then advance through your slides and narrate
- Click stop, then save the recording to Drive
The recording saves to a “Slides recordings” folder in Google Drive, where you can share it with a link or download it.
The catch: the built-in recorder is only available on select Google Workspace plans (Business, Enterprise, and Education editions) - not on free personal Gmail accounts. It only works in Chrome on a desktop, recordings are capped at around 30 minutes, and there is no editing afterward. If you do not see the Rec button, your account does not have access and you will need one of the methods below.
Screen record a Google Slides presentation (works on any account)
If you are on a free personal account, or you want more control, screen recording the slideshow works regardless of plan. You present in full-screen slideshow mode and capture everything with your computer’s built-in recorder.
On Mac:
- Open your deck and start Slideshow mode (top-right, or press the present shortcut)
- Press Cmd + Shift + 5 to open the Screenshot toolbar
- Click Options and select your microphone so your narration is captured
- Choose Record Entire Screen, click Record, and walk through your slides
- Press Cmd + Control + Esc to stop - the video saves to your Desktop as a
.mov
On Windows:
- Start your slideshow in Google Slides
- Press Windows + G to open the Xbox Game Bar
- Open the Capture widget and click Record (make sure the mic is on)
- Press Windows + Alt + R to stop
What you get: a raw video of your slides with microphone narration. The built-in tools capture your mic but not internal audio, so a video embedded inside a slide will not record its sound. There is also no camera overlay, no zoom, and only trim editing. Fine for a quick share, limited for anything polished.
Record a Google Slides presentation in your browser
Browser extensions like Loom let you record the Slides tab plus a small camera bubble without leaving Chrome. You install the extension, choose the tab or screen, and it captures your presentation with a webcam overlay in the corner.
This is convenient for quick, talking-head style walkthroughs and produces an instant shareable link. The tradeoffs are that free tiers cap video length and quality, the recording is hard to edit after the fact, and the camera bubble position is fixed during capture.
Record and polish a Google Slides presentation with Tight Studio
When the presentation video is going to a client, a course, or a public audience, the recording is only half the job - the editing is what makes it look professional. Tight Studio is a macOS app that records your screen and then opens the result in a built-in editor, so you do not bounce between a recorder and a separate editing app.
- Download Tight Studio and open the app
- Start your Google Slides deck in Slideshow mode so it fills the screen
- In Tight Studio, choose your recording area (full screen or the slideshow window)
- Turn on your microphone, and optionally enable your webcam for a camera overlay
- Click Record, present your slides, then stop - the recording opens in the editor automatically
What Tight Studio adds
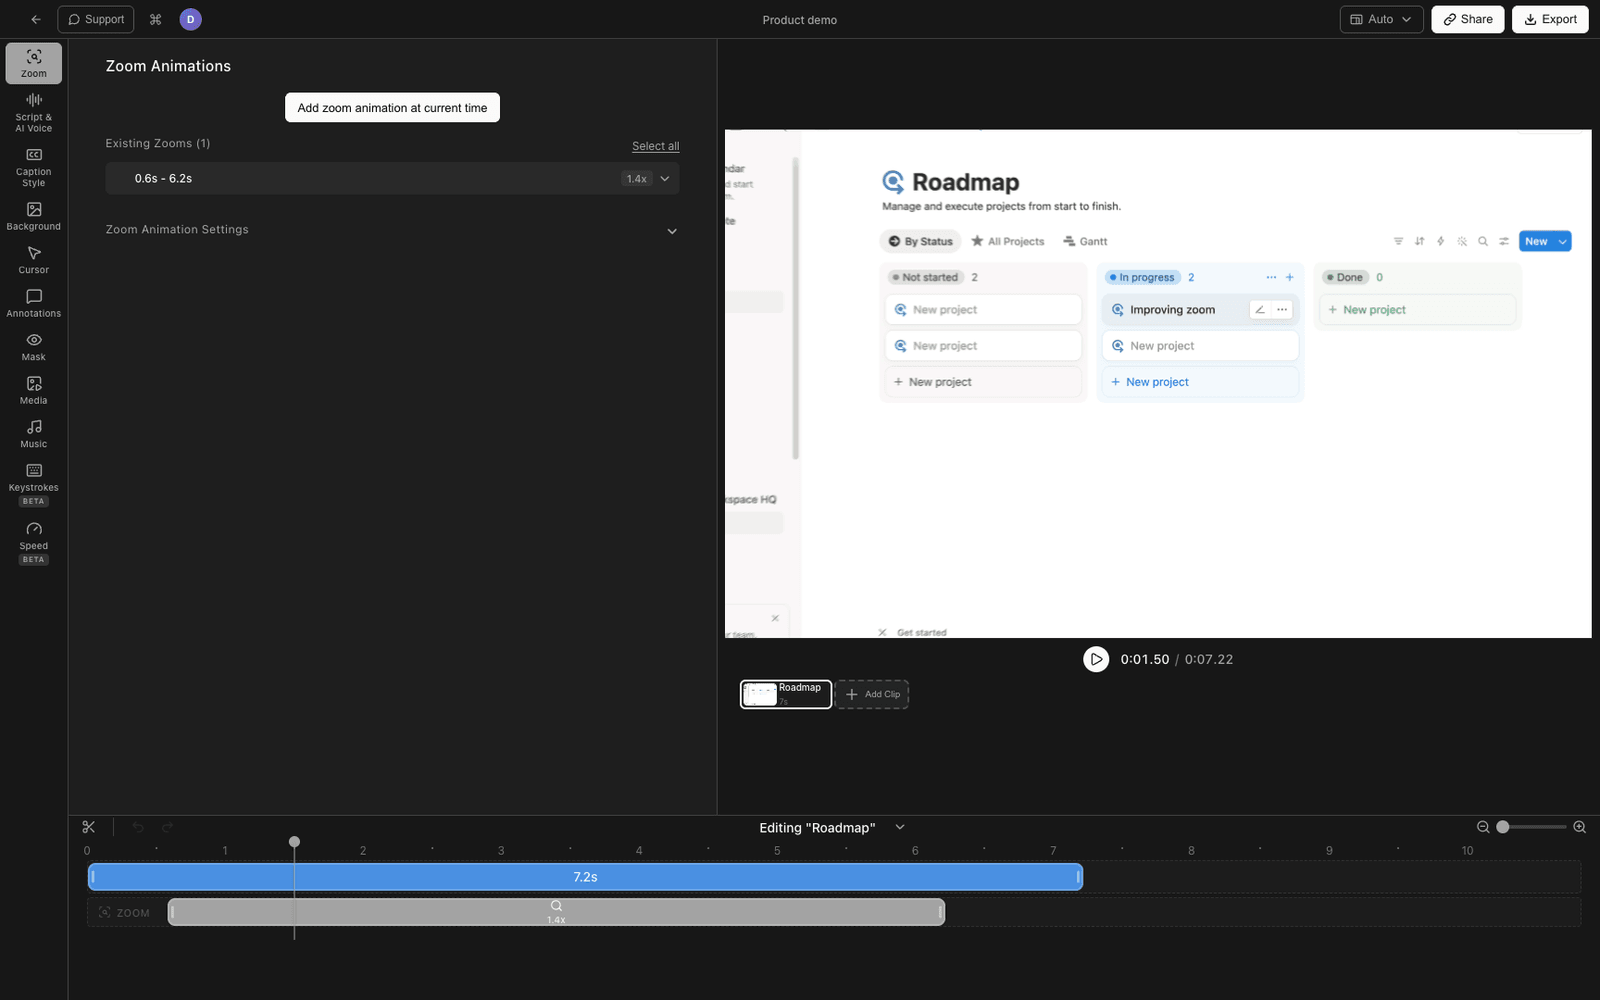
- Zoom animation - smart zoom follows your clicks with motion blur and smooth panning, so you can draw attention to a chart or a specific point on a slide without stopping to explain it
- Cursor animation - an enlarged cursor with click highlighting and optional click sounds keeps a pointer easy to follow when you are walking through a dense slide
- AI voiceover - generate clean narration from typed text, so you can narrate a deck without recording your voice live, or redo a slide’s audio without re-presenting
- Multi-take recording - record your presentation a few slides at a time and stitch the takes together, so one stumble does not mean restarting the whole deck
- Text annotations - add labels, callouts, and titles over your slides with customizable fonts, sizes, and colors
- Intro and outro slides - brand the start and end of the presentation video with a title, logo, and call-to-action
- Background music - add royalty-free music with volume control to set the pace under your narration
Because Tight Studio captures your microphone, the presenter narration of a slides deck records cleanly. Note that it does not capture internal/system audio, so if a slide contains an embedded video, that video’s sound will not be recorded - narrate over it instead.
Comparing ways to record a Google Slides presentation
| Method | Cost | Works on free accounts | Camera overlay | Editing | Best for |
|---|---|---|---|---|---|
| Google Slides built-in recorder | Paid Workspace | No | Yes | None | Quick captures on a Workspace plan |
| Mac Screenshot toolbar | Free | Yes | No | Trim only | Fast, no-frills screen captures |
| Windows Game Bar | Free | Yes | No | None | Fast captures on Windows |
| Loom / browser extension | Free tier / Paid | Yes | Yes (fixed) | Light trim | Quick talking-head walkthroughs |
| Tight Studio | Free tier / Paid | Yes | Yes | Full editor (zoom, cursor, voiceover) | Polished presentation videos |
Tips for recording a Google Slides presentation
A few things that make any recorded presentation easier to watch, no matter which tool you use.
Present in slideshow mode. Record the actual slideshow, not the editing view with the side panel and toolbar visible. Full-screen slides look clean and read well on a phone.
Use your speaker notes. Open presenter view on a second display, or keep notes nearby. You will sound far more natural reading from notes than improvising or memorizing.
Mute notifications first. Turn on Focus/Do Not Disturb so a Slack ping does not pop up over slide 7. On Mac, close other apps so nothing steals focus during the slideshow.
Advance slides with a delay. Pause for a beat after each slide transition before you start talking. It gives the viewer a moment to read the new slide and makes editing cleaner.
Record a little extra at the ends. Leave a second of silence before your first word and after your last - it gives you room to trim cleanly without clipping your narration.
Frequently asked questions
Can you record yourself presenting on Google Slides?
Yes. On select Google Workspace plans, the built-in Rec button records you presenting with a camera bubble and saves the video to Drive. On any account - including free personal Gmail - you can screen record the slideshow with your microphone using your computer’s built-in recorder, a browser extension, or a dedicated app like Tight Studio that also adds a camera overlay.
Does Google Slides have a record feature?
Yes, but it is limited to certain paid Google Workspace editions (Business, Enterprise, and Education). It only works in Chrome on desktop, caps recordings at around 30 minutes, and saves the result to a “Slides recordings” folder in Drive. If you do not see the Rec button in the top-right toolbar, your account does not include the feature.
How do I record a Google Slides presentation with audio?
Start your slideshow, then record your screen with the microphone enabled. On Mac, press Cmd + Shift + 5, click Options, select your microphone, and record. The narration you speak is captured, but internal/system audio (like the sound from a video embedded in a slide) is not captured by the built-in tools - narrate over embedded media instead.
How do I record a Google Slides presentation with my camera?
The Google Slides built-in recorder includes a camera bubble on supported Workspace plans. On any account, a browser extension like Loom or a desktop app like Tight Studio can add a webcam overlay to the corner of the recording. Mac’s built-in Screenshot toolbar does not support a camera overlay on its own.
Why can’t I see the Record button in Google Slides?
The recording feature is only available on select paid Workspace editions and only in the Chrome browser on a desktop computer. Free personal Gmail accounts and most basic Workspace tiers do not have it. If the Rec button is missing, screen record the slideshow instead.
How long can you record a Google Slides presentation?
Google Slides’ built-in recorder limits each recording to about 30 minutes. Screen recording with your computer’s built-in tools or an app like Tight Studio has no fixed time limit - length is constrained only by available disk space.
How do I turn a recorded Google Slides presentation into a video file?
The Google Slides recorder saves an MP4-style video to your Drive that you can download. Screen recordings save as a local video file directly (a .mov on Mac, .mp4 on Windows). With Tight Studio, you edit the recording and then export a finished MP4.
How do I share a recorded Google Slides presentation?
If you used the built-in recorder, the video lives in Drive and you can share it with a link. For screen recordings, upload the file to YouTube (unlisted is good for limited sharing), Drive, or your own site. Tight Studio can create a shareable video link after export so you do not have to attach a large file to an email.