How to Screen Record on Mac with Audio
macOS has built-in screen recording, but it comes with limitations. The built-in tools can capture microphone audio, but recording internal audio (sound from apps, browser tabs, video calls) requires extra setup. And you only get basic trim editing - no zoom effects, no captions, no webcam overlay.
If you are new to screen recording on Mac, start with our complete guide to screen recording on Mac for the basics. This guide focuses specifically on capturing audio - both microphone and internal system audio.
Recording with microphone audio using built-in tools
Both the Screenshot toolbar (Cmd + Shift + 5) and QuickTime Player support microphone recording out of the box. Open either one, select your microphone in Options, and hit Record. For full step-by-step instructions, see our guide to screen recording on Mac.
The key limitation: both tools can only capture microphone audio. They cannot record internal audio - the sound playing from apps, browsers, or system sounds. That requires extra setup.
Why mac screen recording with audio is so difficult
Apple does not provide a built-in way to capture system audio during a screen recording. This is a deliberate security decision - macOS isolates audio streams between applications to prevent one app from eavesdropping on another.
The standard workaround is to install BlackHole, a free open-source virtual audio driver. It creates a virtual audio device that routes your system audio through a path that screen recorders can access. Here is how to set it up:
- Download and install BlackHole from the official GitHub page
- Open Audio MIDI Setup (search for it in Spotlight)
- Click the + button and create a Multi-Output Device
- Check both your regular speakers/headphones and BlackHole in the device list
- Set this Multi-Output Device as your system audio output in System Settings > Sound
- In your screen recorder, select BlackHole as the microphone/input source
This works, but it has some downsides worth knowing about:
- Setup complexity - configuring the multi-output device in Audio MIDI Setup is not intuitive
- macOS update risk - virtual drivers occasionally stop working after system updates
- Audio routing changes - you need to switch your system output back when you are done recording
For microphone-only recording (narrating over your screen), none of this is needed - the built-in tools handle that fine. But if you want a better recording experience with features like auto zoom, webcam overlay, and AI captions, a dedicated screen recorder like Tight Studio makes a real difference.
Screen record Mac with audio using Tight Studio
Professional screen recordings with microphone audio, auto zoom, webcam overlay, and AI captions.
- Download Tight Studio and open the app
- Select your recording area - full screen, a window, or a custom region
- Enable your microphone to record voice narration, and optionally turn on your webcam for a camera overlay
- Click Record to start
- When finished, your recording opens in the built-in editor where you can trim, add zoom effects, and generate AI captions
What Tight Studio adds
- Webcam overlay - Add a camera bubble to your recordings. Multiple shapes, sizes, and positions to choose from.
- Auto zoom - Automatically zooms into clicks and keystrokes to keep the focus on what matters.
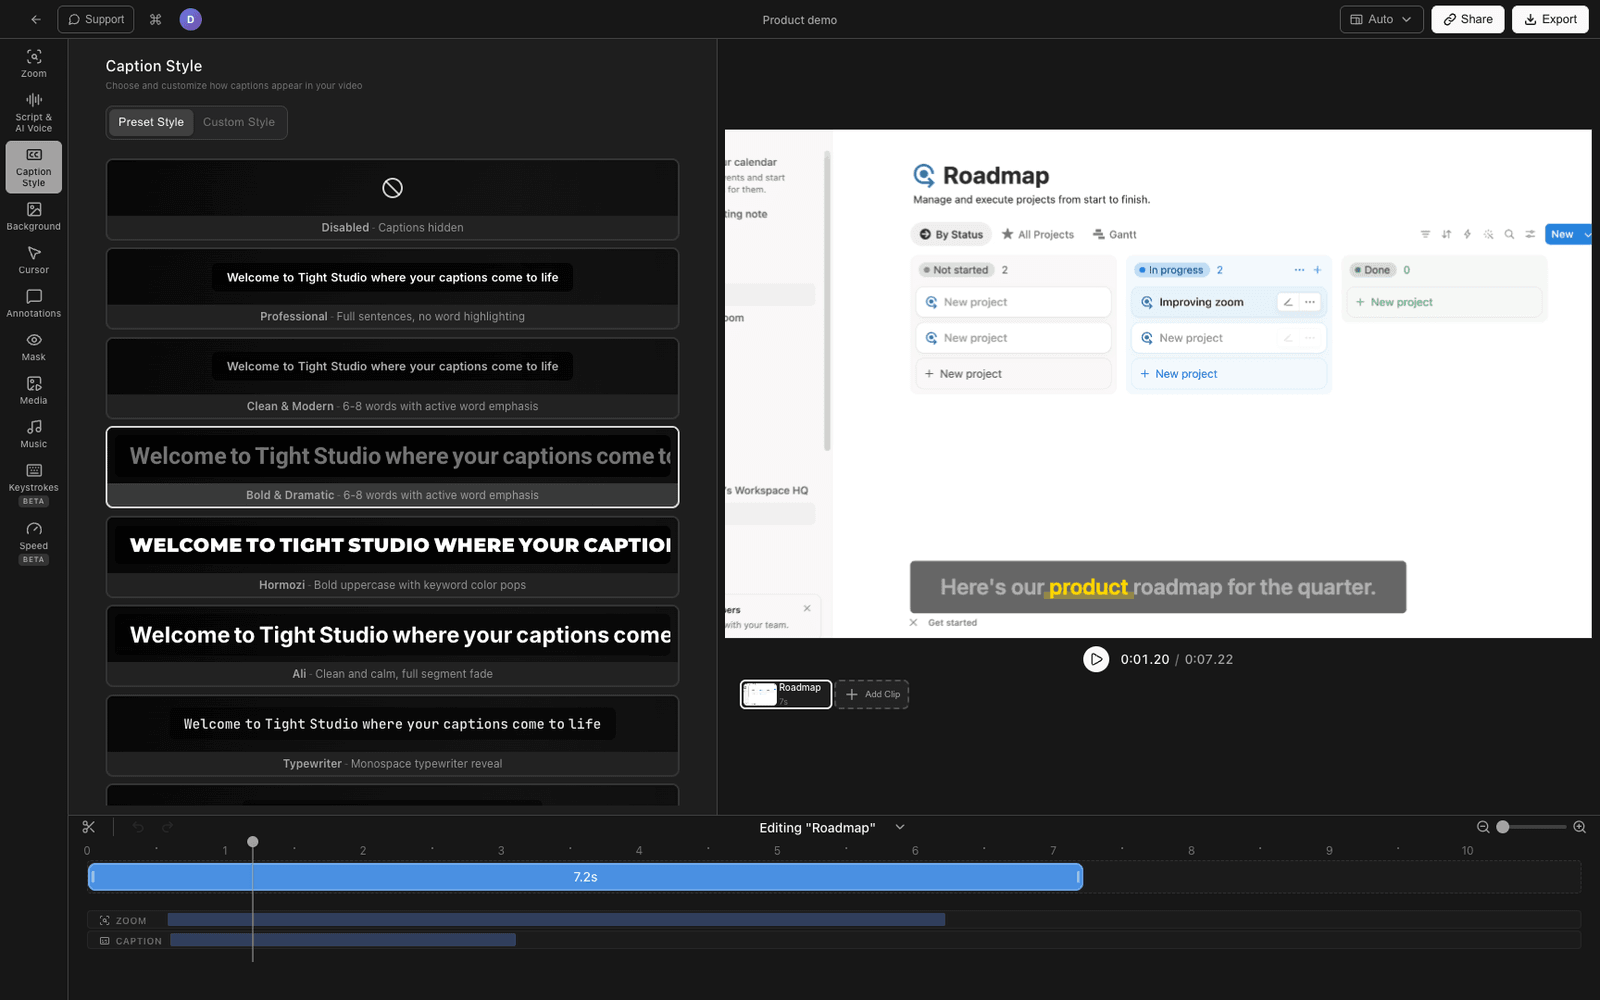
- AI captions - Generates accurate captions from your audio with one click. Multiple styles and positions.
- Shareable links - Share recordings instantly with a link. No file uploads or cloud storage needed.
Comparing Mac screen recording methods
| Feature | Screenshot Toolbar | QuickTime Player | Tight Studio |
|---|---|---|---|
| Microphone audio | Yes | Yes | Yes |
| Internal audio | No | No (needs BlackHole) | No (use BlackHole) |
| Webcam overlay | No | No | Yes |
| Editing tools | Trim only | Trim only | Full video editor |
| Auto zoom | No | No | Yes |
| AI captions | No | No | Yes |
| Shareable link | No | No | Yes |
| Price | Free (built in) | Free (built in) | Free tier available |
Frequently asked questions
Can you screen record on Mac with internal audio?
Not with the built-in tools alone. The macOS Screenshot toolbar and QuickTime Player can only capture microphone audio. To record internal audio - the sound coming from apps, browser tabs, and system sounds - you need a free virtual audio driver like BlackHole. Once installed, set it as your audio output and select it as the microphone source in your screen recorder.
How do I screen record on Mac with sound from my microphone?
Press Cmd+Shift+5 to open the Screenshot toolbar, click Options, then select your microphone under the Microphone section. Click Record. Your screen recording will include audio from the selected microphone.
Why is there no sound on my Mac screen recording?
If your screen recording has no audio, you likely did not enable a microphone before recording. Open the Screenshot toolbar (Cmd+Shift+5), click Options, and make sure a microphone is selected - not “None.” If you wanted internal audio (sound from apps or browsers), the built-in tools cannot capture that without a virtual audio driver like BlackHole.
Do I need a virtual audio driver like BlackHole or Soundflower?
Only if you need to capture internal system audio. BlackHole is the recommended free option - Soundflower is no longer maintained. Virtual audio drivers route system audio through a virtual device so screen recorders can capture it. The setup involves configuring a multi-output device in Audio MIDI Setup. For microphone-only recording, no driver is needed.
How to screen record on Mac with audio for free?
For microphone audio, use the built-in Screenshot toolbar (Cmd+Shift+5) at no cost. For a better recording experience with auto zoom, webcam overlay, and AI captions, Tight Studio offers a free tier. For internal system audio, install the free BlackHole virtual audio driver and configure it as your audio source.