Screen recording with webcam overlay - free picture-in-picture facecam
A webcam overlay (sometimes called a facecam or picture-in-picture) shows your face in the corner of a screen recording while you talk through what is on screen. It is the format used by almost every product demo, course lesson, and tutorial video that gets watched to the end - putting a face on the recording is the single biggest thing you can do to keep viewers engaged.
This guide covers three ways to record your screen with a webcam overlay - two free built-in or open-source options, and Tight Studio, which is also free to start and handles the whole flow in one app.
Why add a webcam overlay to a screen recording
A talking-head bubble in the corner does three things at once:
- Builds trust. Viewers connect with a face more than a disembodied voice. For sales demos, courses, and customer-facing videos, that connection matters.
- Adds energy. A small camera feed full of micro-expressions keeps the screen from feeling flat, especially during longer recordings.
- Provides context. You can react to what is on screen, point with your hand, or signal a transition with body language.
The catch is that capturing the screen and the webcam at the same time - and getting them to line up cleanly in the final video - is harder than it sounds with the built-in tools.
Method 1: macOS built-in tools with a separate webcam recording
macOS does not have a native screen recorder that captures the webcam at the same time. The closest free workaround is to record both separately and stitch them together.
- Open Photo Booth (or QuickTime > File > New Movie Recording) and start a webcam-only recording
- Switch to your screen and press Cmd + Shift + 5 to start a screen recording
- Talk through your demo
- Stop both recordings and import them into iMovie
- Layer the webcam clip on top of the screen recording as a picture-in-picture
- Manually sync the audio tracks (usually by clapping at the start)
What you get: A working webcam overlay, but at the cost of running two recorders, syncing audio in post, and learning iMovie’s picture-in-picture controls. Most people give up after one attempt.
Method 2: OBS Studio (free and open source)
OBS Studio is the most popular free option for combined screen and webcam recording. It captures both sources at once and lets you position the webcam wherever you want.
- Download OBS Studio from obsproject.com and install it
- In the Sources panel, click + and add a Display Capture for your screen
- Click + again and add a Video Capture Device for your webcam
- Drag the webcam preview to the corner of the canvas and resize it
- Click Start Recording in the controls panel
- Click Stop Recording when finished - your file saves to the configured output folder
OBS is powerful and completely free, but it is designed for streamers, not casual screen recorders. The learning curve is real - scenes, sources, profiles, encoders, bitrates - and the output is raw video that still needs editing in a separate app if you want zoom, captions, or a clean cursor.
What you get: A polished raw recording with the webcam baked in. Editing, zoom effects, cursor animation, and shareable links are all separate problems to solve.
Method 3: Tight Studio (free to start, all-in-one)
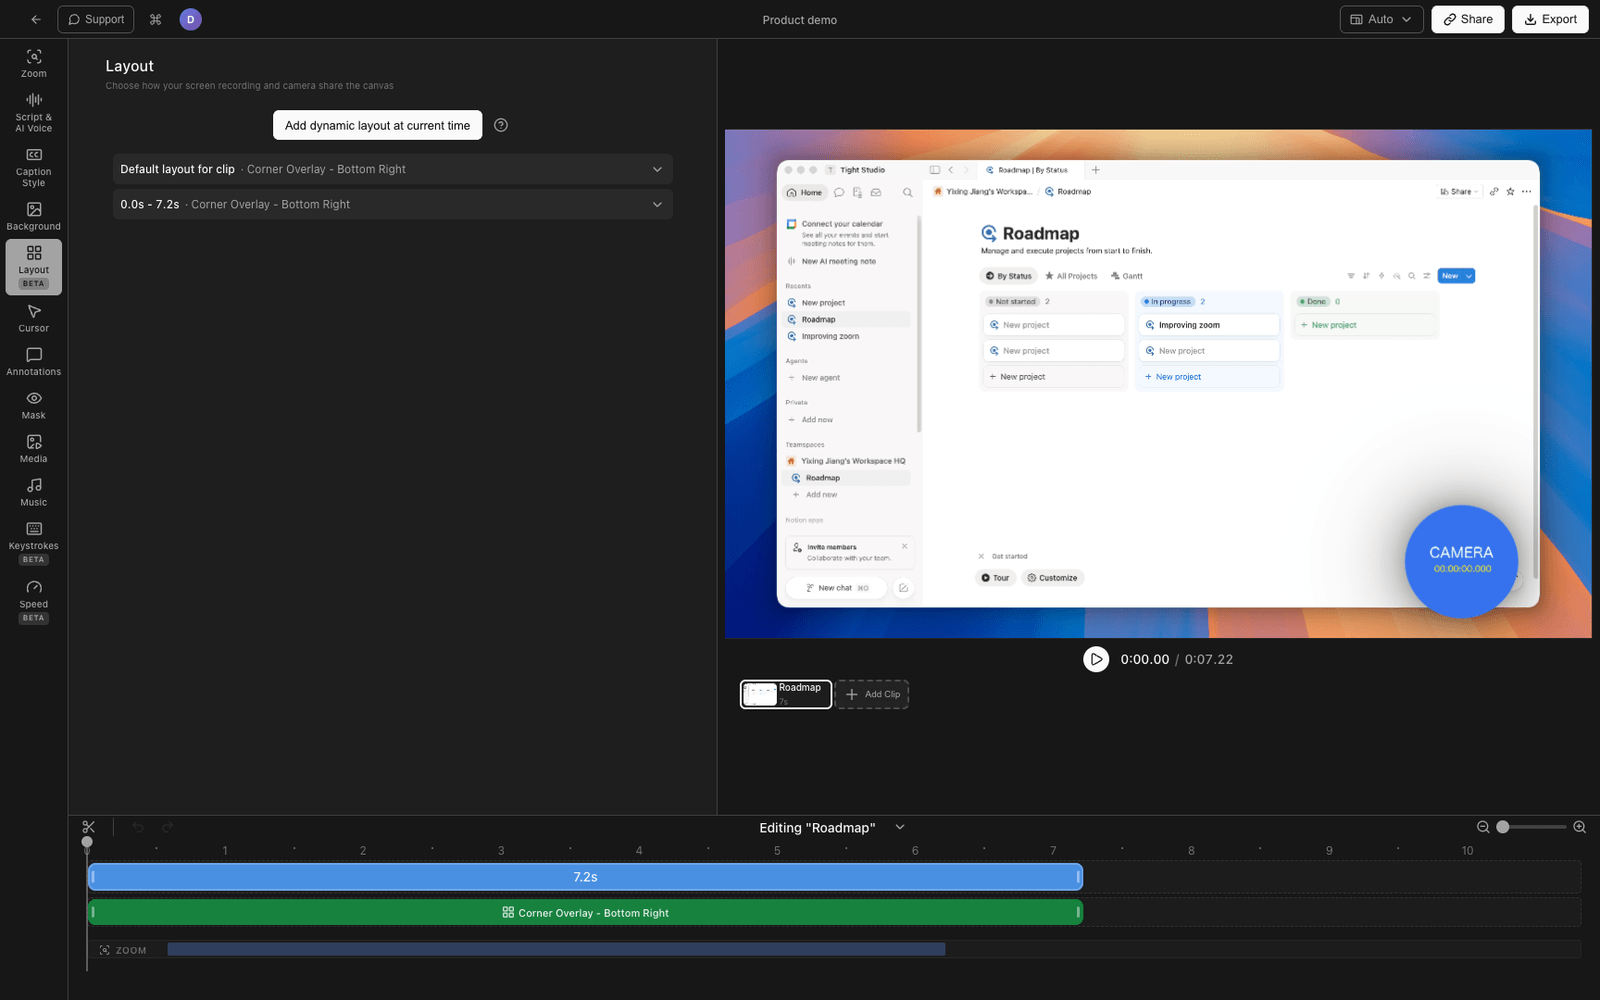
Tight Studio is a screen recorder for macOS with a built-in webcam overlay and a full editor. It is free to start - you can record, edit, and export with the webcam overlay on the free tier without paying anything.
- Download Tight Studio and open the app
- Pick your recording area - full screen, a specific window, or a custom region
- Turn on your webcam in the recording controls - it shows as a live preview before you start
- Click Record to start. The webcam overlay is captured alongside the screen automatically.
- When you stop recording, the video opens in the built-in editor with the webcam already positioned in the corner
In the editor you can:
- Change the webcam shape - circle, rounded square, or rounded rectangle
- Resize and reposition the webcam overlay anywhere on the canvas
- Apply layout presets that move the webcam and screen content together (great for vertical 9:16 videos)
- Hide or show the webcam on specific clips if you only want your face on parts of the recording
What Tight Studio adds beyond the webcam overlay
Recording is only half the job. The editor is where Tight Studio’s free tier really shows its value:
- Zoom animation - Smart zoom follows your clicks with motion blur and smooth panning so viewers stay focused
- Cursor animation - Animated cursor with click highlighting and sound effects, so the pointer never gets lost
- AI voiceover - Generate professional narration from text when you do not want to record your voice live
- Multi-take recording - Record sections separately and combine them later, so one stumble does not ruin the take
- Text annotations - Add text overlays with custom fonts, sizes, and colors to call out details
- Intro and outro slides - Drop in branded slides at the start and end of your recording
- Background music - Royalty-free music library with volume control built in
Comparing free webcam overlay screen recorders
| Feature | macOS built-in + iMovie | OBS Studio | Tight Studio |
|---|---|---|---|
| Price | Free (built in) | Free (open source) | Free to start |
| Records screen + webcam together | No (manual stitch) | Yes | Yes |
| Webcam shape options | Rectangle only | Rectangle only | Circle, rounded square, rectangle |
| Reposition webcam after recording | Manual in iMovie | No (set before recording) | Yes (drag in editor) |
| Built-in editor | iMovie (separate) | None | Yes |
| Zoom animation | No | No | Yes |
| Cursor effects | No | No | Yes |
| Audio sync between sources | Manual | Automatic | Automatic |
| Learning curve | Medium | High | Low |
| Setup time | 10+ minutes per recording | One-time hour-long setup | Under a minute |
Tips for a great webcam overlay recording
A few small things make a webcam overlay look professional instead of like a Zoom call.
Light your face from the front. A cheap ring light or even sitting facing a window beats an expensive camera with bad lighting. Avoid backlighting - it turns your face into a silhouette.
Frame yourself with headroom. Eyes should sit about a third of the way down from the top of the webcam frame. Too much space above your head makes the framing feel off; too little makes it feel cramped.
Pick a clean background. A blank wall or a tidy bookshelf beats a busy room. If you cannot avoid clutter, a shallow depth-of-field webcam (Logitech Brio, Insta360 Link) helps blur the background.
Use a good microphone. Webcam audio is usually rough. AirPods, a USB mic, or a wired lavalier all sound noticeably better than the built-in webcam mic.
Keep the overlay small. A facecam that covers more than 20% of the screen distracts from the actual content. Most polished tutorials use a circular bubble in one corner, around 200-300 pixels across.
Match the corner to your content. If your demo has important UI in the bottom right (a sidebar, a chat panel), put the webcam in the opposite corner. Move it around between clips if you need to.
Frequently asked questions
How do I record my screen and webcam at the same time on Mac?
The macOS built-in screen recorder does not support webcam overlays. You can either record screen and webcam separately with QuickTime and stitch them in iMovie, use a free tool like OBS Studio, or use a dedicated recorder like Tight Studio that captures both at once and combines them automatically.
Is there a free screen recorder with webcam overlay?
Yes. OBS Studio is free and open source. Tight Studio has a free tier that supports webcam overlay recording and editing. Both capture screen and webcam together in a single file, unlike the macOS built-in tools.
What is the difference between a facecam, webcam overlay, and picture-in-picture?
They all describe the same thing: a small live camera feed of the presenter shown on top of a screen recording. “Facecam” is common in gaming and YouTube content, “webcam overlay” is the descriptive name, and “picture-in-picture” (PiP) is the technical term originally from television.
Can I make the webcam circular instead of rectangular?
Yes, but you need a recorder or editor that supports custom shapes. The macOS built-in tools and OBS Studio output rectangular webcam feeds by default. Tight Studio lets you switch between circular, rounded square, and rectangular shapes after recording.
How big should my webcam overlay be in a tutorial?
Aim for the webcam to take up about 10-20% of the screen area. Too small and viewers cannot read your expression; too large and it covers the content you are demoing. A 200-300 pixel circle in a corner is a good default for 1080p recordings.
Do I need a dedicated webcam, or is the built-in MacBook camera fine?
The built-in MacBook camera is fine for most tutorials and demos, especially on newer M-series MacBooks. An external webcam helps if you need wider framing, better low-light performance, or background blur. A good ring light improves any webcam more than upgrading the camera itself.
Can I move the webcam to a different corner during a recording?
Not during recording, but you can in editing. With Tight Studio you drag the webcam to any position on each clip independently. With OBS, you would need separate scenes for each position. With the macOS + iMovie workflow, you can keyframe the webcam position over time but it takes manual work.
Does the webcam overlay record audio from the webcam microphone?
That depends on the tool. By default, most screen recorders use whichever microphone you select - the webcam mic, an external mic, or the built-in laptop mic. Webcam microphones are usually the worst-sounding option; an external USB mic or even AirPods will sound significantly better.