Home studio setup for tutorial creators
A tutorial creator’s home studio is not a music studio. You do not need acoustic panels covering every wall, three studio monitors, or a $2,000 condenser microphone. You need a quiet room, a clean voice recording, a readable screen capture, and software that turns it all into a watchable video.
This guide covers the home studio setup that actually matters for tutorial creators - the gear, the space, the software, and the order to buy things in. It works for software tutorials, course videos, YouTube how-tos, product demos, and any other content where the screen is the main subject.
What tutorial creators actually need
Most “home studio setup” guides on the internet are written for musicians or full-face YouTubers. Tutorial creators have a different problem. The viewer is watching a screen, not your face. Audio quality matters more than video quality. Cursor visibility matters more than camera angle. Editing speed matters more than raw recording fidelity.
A useful tutorial home studio breaks down into four parts, in priority order:
- Voice - The microphone and the room it lives in
- Screen - The recording software and a display large enough to record cleanly
- Camera (optional) - A webcam and minimal lighting for a corner overlay or talking-head intro
- Workflow - The software stack that gets you from blank screen to published video
Skip steps 3 if you do not appear on camera. Most software tutorials do not need a face.
The microphone is the most important purchase
Viewers will forgive a mediocre screen recording. They will not forgive bad audio. Three seconds of muffled, echoey, or clipped voice and they click away.
Three microphone tiers for tutorial creators
Tier 1 - Built-in or AirPods (free). Better than people think for short internal videos. The AirPods Pro mic is surprisingly clean if you are in a quiet room. The built-in MacBook mic picks up keyboard noise and is fine for Loom-style messages but tiring to listen to for more than two minutes.
Tier 2 - USB condenser, $80-$150. This is the sweet spot for 95% of tutorial creators. The Samson Q2U, Audio-Technica ATR2100x, or Blue Yeti Nano produce clean, broadcast-quality audio with no audio interface needed. Plug into USB, record, done.
Tier 3 - Dynamic mic + interface, $300-$500. The Shure MV7+ or the Shure SM7B + Focusrite Scarlett Solo. Worth it if you are publishing a paid course, building a YouTube channel as your main income, or recording in a room with traffic or HVAC noise. Dynamic mics reject room sound, which makes them forgiving of untreated spaces.
What to skip
- Lavalier mics (lav mics) for tutorials. They are designed for on-camera talking-head video, not voiceover. The sound is thinner.
- USB mics over $200. Diminishing returns. If you want better than a $150 USB mic, jump straight to a dynamic mic with an audio interface.
- Anything labeled “gaming microphone” with RGB lights. The lights cost money the mic does not have.
Treat the room before you upgrade the mic
A $100 mic in a treated room sounds better than a $500 mic in a bare-walled echoey room. Treatment for tutorial creators is simple:
- Record in a room with a rug, curtains, and soft furniture. Carpeted bedrooms and home offices are usually fine.
- Avoid kitchens, bathrooms, and any room with hard tile or concrete floors.
- Position the mic 6-8 inches from your mouth, slightly off to the side to avoid plosives.
- If you can hear an echo when you clap, hang a moving blanket or two on the wall behind you. $30 of moving blankets beats $200 of acoustic foam.
Screen and computer setup
The screen recording is what viewers actually watch. Two things matter: the resolution you record at, and the screen real estate you have to work with.
Recording resolution
Record at the resolution viewers will watch at. Most tutorials get watched at 1080p on a laptop or a phone. Recording your full 5K iMac and downscaling to 1080p in editing makes the UI tiny and unreadable.
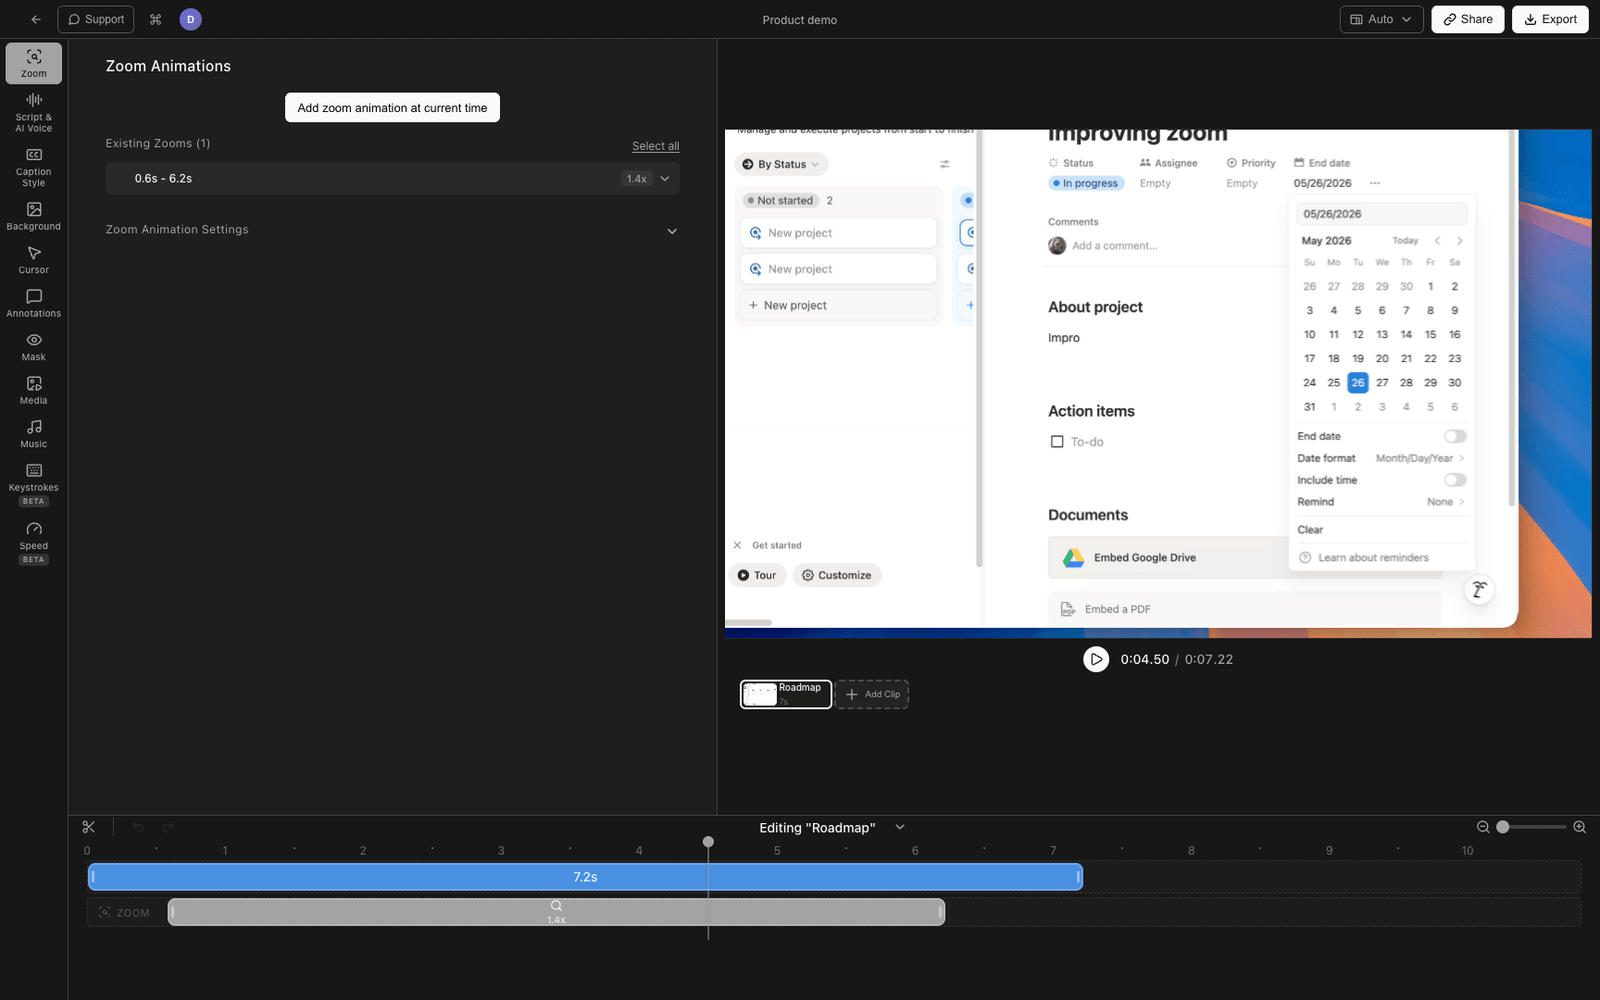
The fix: either record at 1080p directly (most screen recorders let you choose), or record a region of your screen that maps to 1080p natively. Tools like Tight Studio and Screen Studio handle resolution-aware capture with smart zoom on clicks so small UI elements stay readable even on a phone.
Display
A 27-inch external monitor is the most useful single upgrade after the microphone. Reasons:
- Room for the app you are demoing, your script or outline, and your recording software side by side
- Bigger UI targets are easier to follow as a viewer
- Reduces the need to constantly switch windows mid-recording
You do not need a 4K or 5K display. A 1440p 27-inch monitor in the $200-$400 range is plenty.
Computer
Whatever you have probably works. Tutorial recording is not GPU-intensive the way game streaming or video editing is. The bottleneck is usually disk write speed (an SSD, which most modern computers have) and RAM if you are recording while running the app you are demoing plus an editor.
If you are buying new, 16GB of RAM is the floor for comfortable recording-plus-editing. 32GB if you also use a video editor with multiple effects.
Webcam and lighting (skip if you stay off camera)
About half of software tutorials skip the camera entirely. Voice-only over the screen is fine for procedural content. If you do want a corner camera overlay, the setup is small.
Webcam tiers
Tier 1 - Built-in laptop camera (free). Surprisingly good on modern MacBooks. Use it if you are camera-shy and want a small corner overlay rather than a full-face shot.
Tier 2 - $80-$150 USB webcam. Logitech Brio, Insta360 Link, or Anker PowerConf C200. Sharper than built-in cameras, with better low-light performance.
Tier 3 - DSLR or mirrorless as a webcam, $500+. Overkill for a corner overlay. Worth it if you are also recording full-face talking-head content for the same channel.
Lighting matters more than the camera
A built-in laptop camera with good lighting looks better than a $200 webcam with bad lighting. Lighting basics for tutorial creators:
- Face a window during daytime recording. Free, soft, flattering. Avoid windows behind you (silhouette) or directly to the side (one half of your face goes dark).
- One LED panel, $40-$100. Lume Cube Panel Mini or Elgato Key Light Air. Position it at 45 degrees, slightly above eye level, pointed at your face.
- Avoid overhead room lights. They cast shadows under the eyes that make everyone look tired.
You do not need a three-point lighting kit. One window or one LED panel is enough for a corner camera overlay.
The software stack
Hardware is the foundation. Software is what turns the raw inputs into a finished tutorial.
Screen recorder
The single most important piece of software for a tutorial creator. Three categories:
- Built-in tools (free) - Mac’s Screenshot toolbar (Cmd + Shift + 5), Xbox Game Bar on Windows. Good for quick captures, no editing.
- Lightweight async tools (Loom, Vidyard) - Designed for fast one-take messages with a shareable link. Limited editing.
- Dedicated tutorial tools (Tight Studio, Screen Studio, Camtasia, ScreenPal) - Built-in editor with zoom, cursor effects, captions, and multi-take recording.
For published tutorials, dedicated tools save the most time. They automate the parts of editing that take longest (zooming on clicks, smoothing the cursor, cutting dead air) so a 4-minute tutorial takes 4 minutes to edit instead of 40.
Editor
Most tutorial creators do not need a separate editor. Tight Studio, Screen Studio, and Camtasia all include a built-in editor designed for tutorial workflows. You only need DaVinci Resolve, Final Cut Pro, or Premiere if you are doing heavy color grading, complex multi-track audio, or stitching tutorial segments into a longer course with motion graphics.
Hosting
Where the finished tutorial lives:
- YouTube unlisted - Free, shareable link, easy to make public later if it becomes evergreen
- YouTube public - Best for SEO and discovery
- Loom or Vidyard - Best for async one-off tutorials shared with one viewer
- Your own site / docs - For product walkthroughs, onboarding, and support content
Three home studio setups by budget
Minimal setup ($0-$50)
- Built-in laptop microphone or AirPods
- Built-in laptop camera (if you appear on camera)
- A quiet bedroom with a closed door
- Mac Screenshot toolbar or Tight Studio free tier for recording
Enough to start publishing. The audio will be the obvious weak link, but the content quality matters more than the gear when you are starting out.
Starter setup ($300-$500)
- Samson Q2U or Blue Yeti Nano microphone ($80-$150)
- Logitech Brio or built-in webcam ($0-$150)
- One Lume Cube Panel Mini or window light ($0-$70)
- 27-inch 1440p external monitor ($200-$300)
- Tight Studio, Screen Studio, or Camtasia for recording and editing
This is the bracket where the studio stops being the limiting factor. Audio is broadcast quality. Screen captures are clean. Lighting is flattering enough for a corner overlay.
Pro setup ($1,500-$2,500)
- Shure MV7+ or SM7B + Focusrite Scarlett Solo ($400-$600)
- DSLR or mirrorless camera as webcam ($500-$1,000)
- Two Elgato Key Lights or equivalent ($300)
- 27-inch 4K monitor ($400-$600)
- Dedicated room with acoustic treatment ($100-$300 in panels and blankets)
- Tight Studio, Screen Studio, or Camtasia plus a backup editor like DaVinci Resolve
The setup for a full-time creator running a paid course, a YouTube channel, or a developer relations role where tutorials are the main deliverable.
Comparing tutorial creator home studio tiers
| Tier | Budget | Audio | Video | Best for |
|---|---|---|---|---|
| Minimal | $0-$50 | Built-in / AirPods | Built-in webcam | Getting started, internal tutorials |
| Starter | $300-$500 | USB condenser | Webcam + one light | Side projects, YouTube growth |
| Pro | $1,500-$2,500 | Dynamic + interface | DSLR + key lights | Full-time creators, paid courses |
Common home studio mistakes
A few patterns that show up over and over in tutorial creators’ first home studios.
Buying the camera before the mic. The mic is more important. Always.
Buying acoustic foam. Foam looks studio-ish but does very little for the frequencies that affect speech. A rug, curtains, and one blanket on a bare wall do more.
Recording in 4K and downscaling. Wastes disk space and processing time. Record at the resolution you publish at.
Skipping the cursor. A small, hard-to-follow cursor is the single biggest tell that a tutorial was recorded without any post-production. Use a screen recorder that enlarges and animates the cursor, or change the OS cursor size before recording.
Recording without an outline. A bullet-point outline saves an hour of editing. See our tutorial video guide for the planning steps.
Buying gear before publishing anything. The first ten tutorials you make will teach you more about what gear you actually need than any guide. Start with what you have, publish, then upgrade the parts that bother you most.
Frequently asked questions
What do I need to set up a home studio for tutorials?
At minimum: a quiet room, a microphone (built-in or USB), a screen recorder, and a computer that can run the apps you want to demo. Optional: a webcam and one light if you appear on camera. The microphone is the most important purchase. A clean voice over a basic screen recording outperforms a polished screen recording with bad audio every time.
What is the best microphone for tutorial videos?
For most tutorial creators, a USB condenser microphone in the $80-$150 range is the sweet spot. The Samson Q2U, Audio-Technica ATR2100x, and Blue Yeti Nano all produce broadcast-quality audio without needing an audio interface. If your room has noise issues (traffic, HVAC), step up to a dynamic mic like the Shure MV7+, which rejects room sound better.
Do I need a webcam for software tutorials?
No. About half of published software tutorials are voice-only over the screen. A webcam corner overlay can help with engagement and trust, but it is not required. If you do use a webcam, the built-in laptop camera with good window light usually looks better than a cheap USB webcam under bad overhead lighting.
How much does a home studio for tutorials cost?
A minimal setup with built-in gear is $0. A starter setup with a USB mic, a 27-inch monitor, and basic lighting is $300-$500. A pro setup with a dynamic mic, audio interface, DSLR webcam, and dedicated room is $1,500-$2,500. Most creators land in the starter tier and stay there for years.
What software do I need for a tutorial creator home studio?
A screen recorder is the only essential. Tight Studio, Screen Studio, Camtasia, ScreenPal, and Loom cover most use cases. For free options, the built-in Mac Screenshot toolbar (Cmd + Shift + 5) or Xbox Game Bar on Windows are good enough for internal tutorials. A dedicated editor like DaVinci Resolve or Final Cut Pro is only needed for heavy post-production work.
How do I make my home studio quiet enough for recording?
Pick the quietest room in your home - usually a carpeted bedroom or home office with curtains and soft furniture. Close the door. Turn off the HVAC fan if you can during the take. Mute notifications. If you can hear a noticeable echo when you clap your hands, hang one or two moving blankets on bare walls behind you. This is more effective and cheaper than acoustic foam panels.
What lighting do I need for tutorial videos?
If you do not appear on camera, none. If you do, one light source is enough. A window during the daytime (face it, not behind you) is free and works well. An LED panel like the Lume Cube Panel Mini or Elgato Key Light Air at $40-$100, positioned at 45 degrees and slightly above eye level, covers everything else. Skip three-point lighting kits unless you are also recording full-face talking-head content.
Can I record tutorials in 4K?
You can, but you probably should not. Most tutorials are watched at 1080p on a phone or laptop. Recording at 4K and downscaling makes UI elements tiny in the final output, wastes disk space, and slows down editing. Record at 1080p or use a screen recorder with smart zoom (Tight Studio, Screen Studio) that keeps small UI elements readable.