
Import videos and images as clips
Add media as a new clip from your Mac, media library, or another Tight Studio project.
Before you start
Use this workflow when a video or image should become its own clip in the project. To place media over an existing clip instead, open the Media panel and add it to a media track.
Add Clip requires a signed-in account. Free accounts have five lifetime Add Clip uses across all projects; Plus and Pro accounts can add clips without that limit.
- File choices shown in the importer
- .mp4, .mov, .png, .jpg, .gif, and .webp
- Image clip duration
- Starts at five seconds and can be edited on the timeline
- Project import
- Can copy one or several clips from another video
Follow these steps
- Step 1
Open the Add Clip menu
In the editor, find the clip carousel below the preview. Scroll the carousel to the end if needed, then select Add Clip.
The menu offers Add recording clip, Import media as clip, and Import from another video. Choose the option that matches the source you already have.
- Step 2
Choose Import media as clip
Select Import media as clip to open the Import a clip window. This window supports a file from your Mac or an item already saved in the media library.
The imported item becomes a new clip in the carousel. It does not replace the active clip or add an overlay to its timeline.
- Step 3
Browse for a file or drag and drop it
Select browse files in the dashed area, choose one supported video or image, then select Add in the macOS file chooser.
For drag and drop, drag a video or image from Finder into the dashed area. When it changes to Release to import, release the file. Tight Studio imports it into the media library and immediately creates the new clip.
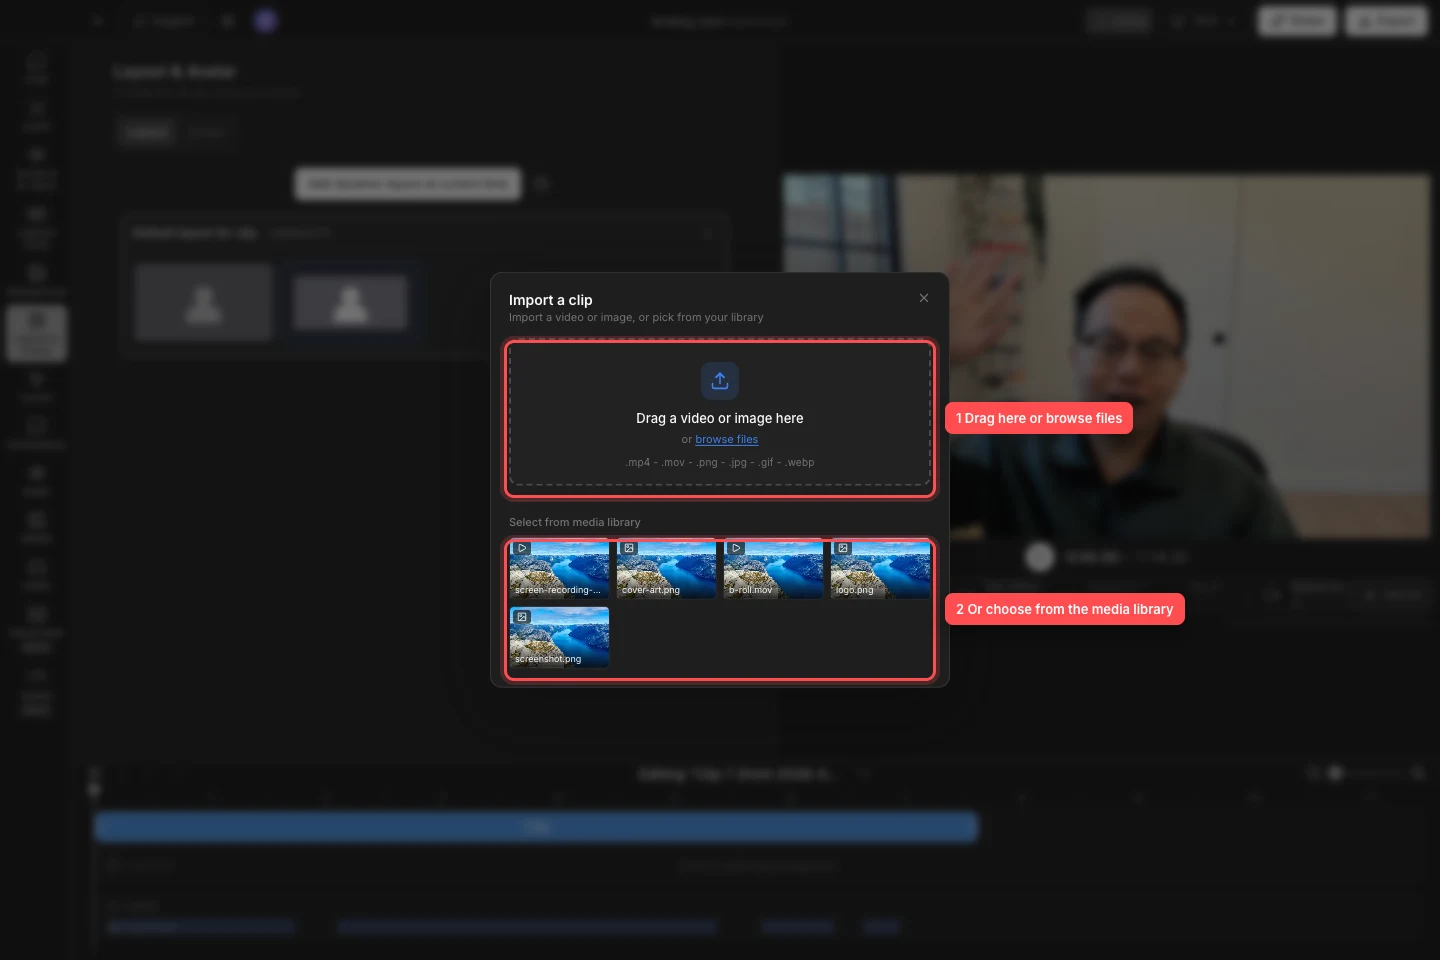
Import from Finder with the drop area, or reuse an item already in the media library. - Step 4
Choose an item from the media library
Under Select from media library, select a video or image thumbnail. The window shows the newest visual items first and marks each thumbnail as a video or image.
Tight Studio creates the clip immediately and selects it in the carousel. Files imported with browse files or drag and drop remain in the library for later projects.
- Step 5
Import clips from another video
Open Add Clip and select Import from another video. Choose a source project from the list; the current project is excluded because its clips are already available in the carousel.
Select one or more clips, or use Select all. Check the selection count, then select Import or the button labeled with the number of selected clips, such as Import 3 clips. Tight Studio copies the clips into the current project in their source order and selects the last added clip.
A local project lists other local projects. A Team Workspace project lists other team videos and downloads the selected source before copying its clips. Imported clips adopt the destination project styling while preserving their clip edits, such as zooms and captions.
- Step 6
Review and adjust the new clip
Play the new clip to confirm its framing, duration, and sound. Imported videos keep their media duration and audio information; imported images begin as a five-second clip.
Rename or reorder the clip in the carousel, then use the timeline and editor panels to trim it or match the rest of the project.
Troubleshooting
Why does Add Clip ask me to sign in or upgrade?
Adding clips requires an account. Sign in first. A Free account can commit five lifetime Add Clip uses across all projects; after that, upgrade to Plus or Pro to add more. Canceling an importer does not consume a use.
Why was my dropped file not imported?
Drop the file directly from Finder into the dashed Import a clip area and use a supported video or image format. If Tight Studio says it could not read the dropped file, use browse files instead and confirm the file opens normally on the Mac.
Why is an audio file missing from the importer?
Import media as clip only lists visual media. To add an audio file, open the Audio panel and use the music or audio import workflow instead.
Why is a project missing from Import from another video?
The current project is intentionally excluded. Local projects show other local projects, while a Team Workspace project shows other team videos. Make sure the source project still exists and is available in the matching workspace.
Still stuck?
Send us a note with the project name and the step where you got blocked.