
Install Tight Studio and check system requirements
Make sure your Mac is compatible, install Tight Studio, and keep the app up to date.
Before you start
Tight Studio currently runs on Apple Silicon Macs. Check the Mac and macOS version before downloading so you do not spend time installing an incompatible build.
The installer and updates need an internet connection. Leave enough free storage for the app plus the recordings and project files you plan to create.
- Compatible Mac
- Apple Silicon (M1 or later)
- macOS
- macOS 14 Sonoma or later
- Memory
- 4 GB RAM minimum
- Installer
- TightStudio.dmg
Follow these steps
- Step 1
Check your Mac model and macOS version
Open the Apple menu in the top-left corner of the screen and choose About This Mac.
Confirm that Chip shows Apple M1 or a newer Apple chip and that macOS is version 14 Sonoma or later. A Mac that shows an Intel processor, a Windows PC, or an older macOS version does not meet the current requirements.
- Step 2
Download Tight Studio
Open tight.studio/download in your browser and click Download for Mac (Apple Silicon). The current installer, TightStudio.dmg, downloads to your Mac.
If the download does not start, use the download it here link on the confirmation page.
- Step 3
Move Tight Studio to Applications
Open TightStudio.dmg from your Downloads folder. In the installer window, drag Tight Studio into the Applications folder.
When the copy finishes, eject the Tight Studio disk image. Keep the copy in Applications and discard the downloaded disk image when you no longer need it.
- Step 4
Open Tight Studio and allow the required access
Open the Applications folder and double-click Tight Studio. If macOS asks whether you are sure you want to open the downloaded app, click Open.
Follow Tight Studio’s first-run prompts for screen recording, microphone, camera, and accessibility access. Only enable the devices and capture options you plan to use; the permissions guide explains every prompt and how to change it later.
- Step 5
Confirm the Home screen opens
The installation is complete when the Home screen appears. Click Start recording to open the recorder, or choose New blank video when you want to begin with an empty project.
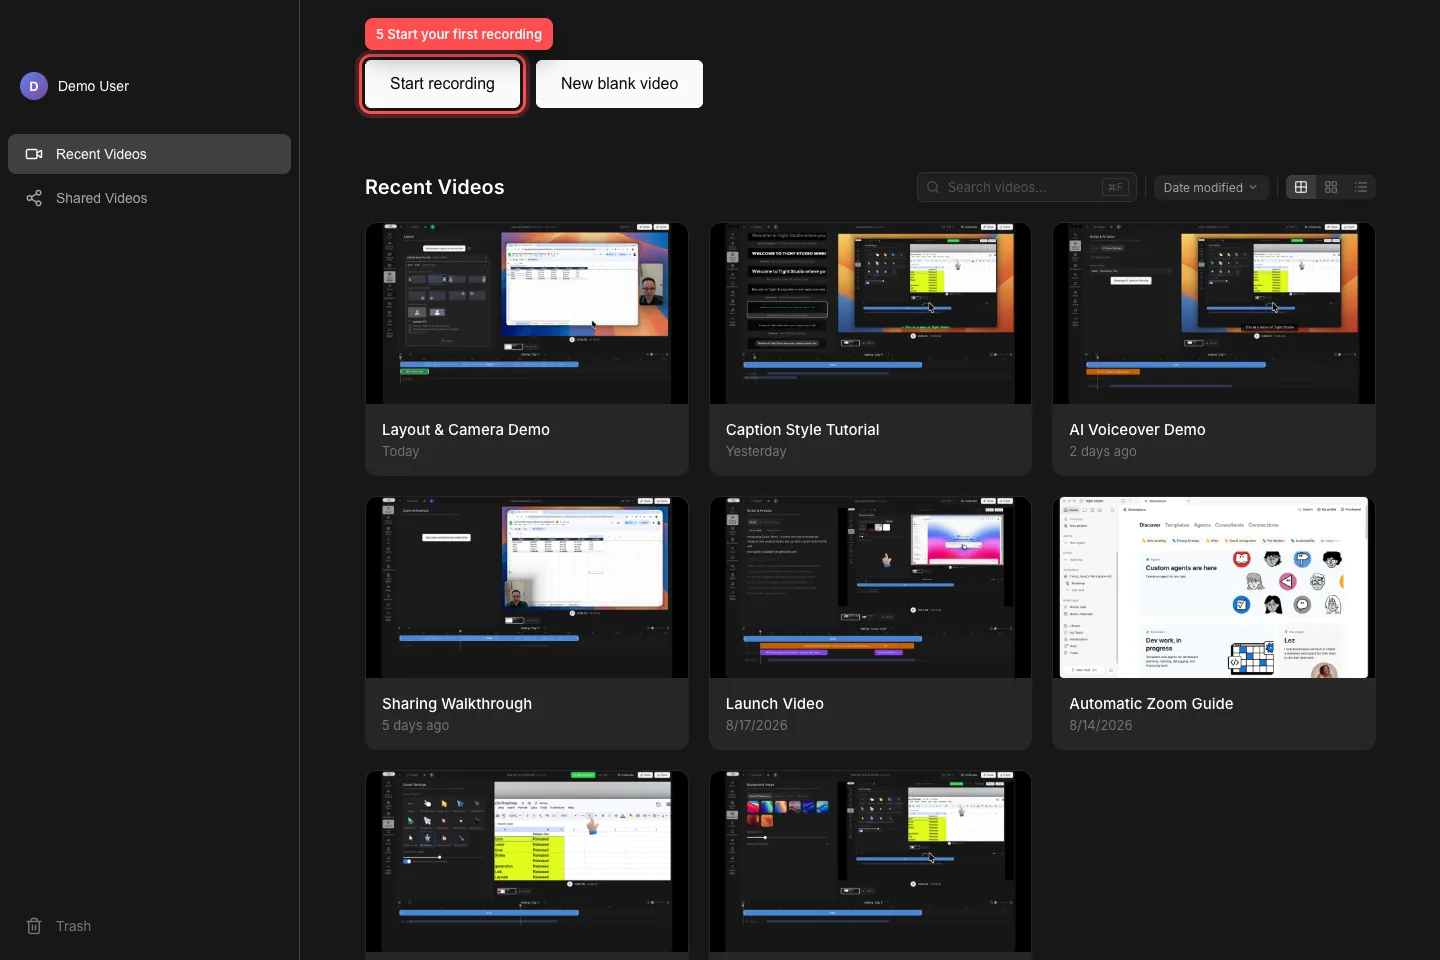
The Home screen confirms Tight Studio opened successfully; choose Start recording when you are ready. - Step 6
Install app updates when they are offered
Tight Studio checks for updates from the Home screen. When Update Available appears, finish any recording or active edit, then click Update and Restart Application.
If the update has already downloaded, the dialog says Update Ready and the button changes to Restart Application Now. Choose Later when you need to postpone the restart.
Troubleshooting
Why does macOS say Tight Studio is not compatible with this Mac?
Open the Apple menu and choose About This Mac. Tight Studio currently requires Apple Silicon (M1 or later), macOS 14 Sonoma or later, and at least 4 GB of RAM. Intel Macs and Windows PCs are not currently supported.
What should I do if Tight Studio says it could not move to the Applications folder?
Click Quit, open the Tight Studio disk image again, and drag Tight Studio into Applications manually. Reopen the copy from Applications. The dialog also offers Continue anyway, but moving the app first is the more reliable setup.
Why does the installer or update fail to download?
Check the internet connection and try again. For an update error, click Try Again. If it still fails, quit Tight Studio, download a fresh TightStudio.dmg from tight.studio/download, and replace the older copy in Applications.
Still stuck?
Send us a note with the project name and the step where you got blocked.